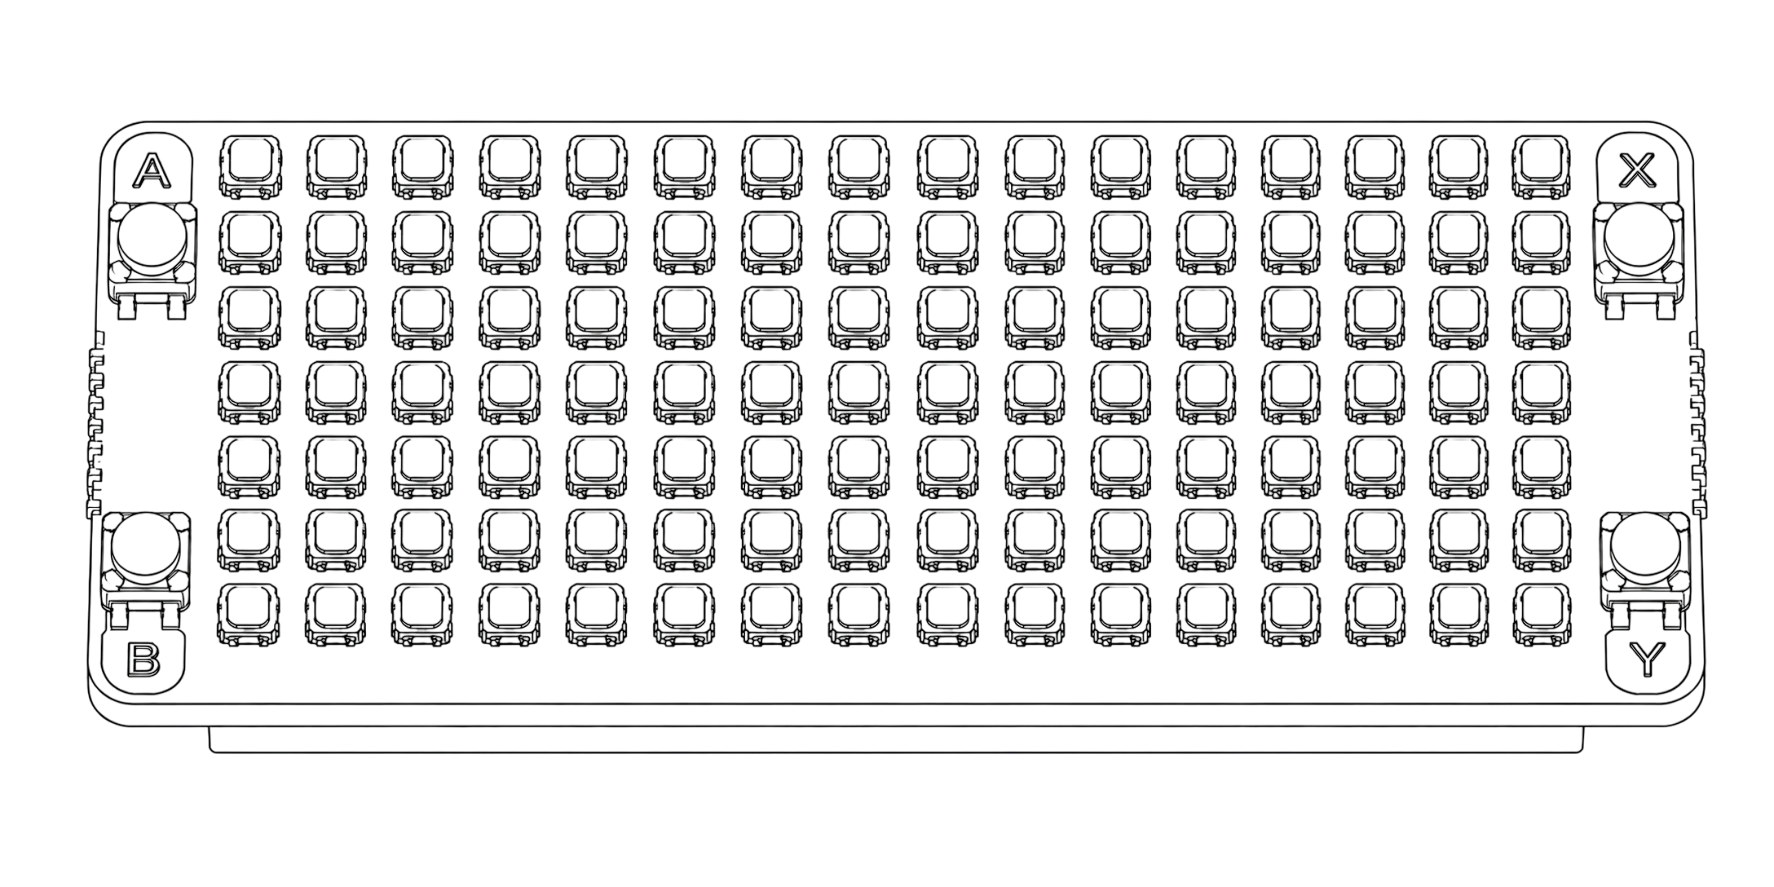
Setup guide

Setting Up Your GlowGrid Board

Prepare the firmware, install GlowGrid OS, connect the board to your network, and send your first program wirelessly.

Step 01

Connect the board

  1. Press and hold the BOOTSEL button on your board.
  2. While holding BOOTSEL, connect the board to your computer using a USB cable.
  3. Release BOOTSEL once the board appears as a USB drive.
Step 02

Install GlowGrid OS

Open the installer and select Install GlowGrid OS.

Open GlowGrid OS installer

2.1 — Install MicroPython firmware

Save the matching MicroPython firmware to your board. Depending on the model, its mounted drive may appear as RPI-RP2 or RP2350.

  • Chrome or Edge—recommended: select the mounted drive and install directly from your browser.
  • Firefox or another browser: download the firmware manually and copy the UF2 file to the board's mounted drive.

2.2 — Install GlowGrid OS

After the firmware restarts, reconnect the board over USB and complete the GlowGrid OS installation. Then:

  1. Connect your computer to the GlowGrid-Setup Wi-Fi network.
  2. Open your browser and visit http://192.168.4.1.
  3. Select your 2.4 GHz Wi-Fi network and enter its password. 5 GHz-only networks are not supported.

Your Wi-Fi credentials are stored on the board.

GlowGrid uses them automatically after power loss or an interrupted connection. Credentials remain on the board and are not sent to the GlowGrid web application.

Step 03

Verify the connection

When the board connects successfully, the setup-complete page displays the IP address assigned by your router through DHCP.

Save this IP address. You will use it to send programs to the board wirelessly. Reserving the address in your router's DHCP settings prevents it from changing later.

Step 04

Create your first project

  1. Open Programs and launch Board Designer.
  2. Create your design and select Prepare Board.
  3. In Configuration, select your Pico board and choose Wireless LAN.
  4. Enter the board's IP address and select Test Connection.
  5. When the test succeeds, select Send over Wi-Fi.
Open Board Designer
Step 05

Check the result

Once the upload is complete, the new program starts running on the board automatically.

If the upload fails

  • Verify that the board and computer are connected to the same Wi-Fi network.
  • Confirm that the board's IP address is correct.
  • Make sure the network allows devices to communicate with each other.
  • Run Test Connection again before sending the program.

Contact

Questions about GlowGrid? Send us an email.

info@nodes.ro