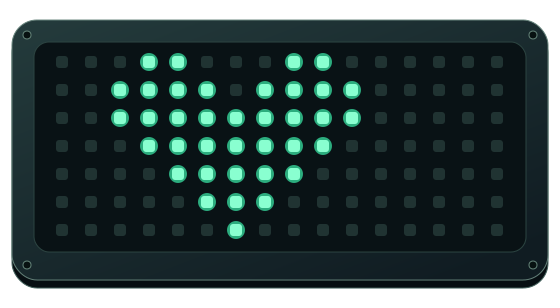
Prepare your GlowGrid
Connect your board once to get it ready. After that, your next idea can reach your board over Wi-Fi, no cable needed.
A hands-on way to learn by building things you can see and interact with. Designed to be simple and accessible, even for complete beginners.
Start here
01New board? Set it up once, then leave the cable behind.
02Board already ready? Pick a program and bring it to life over Wi-Fi or USB.
Connect your board once to get it ready. After that, your next idea can reach your board over Wi-Fi, no cable needed.
Choose a program below. When it looks right, send it over Wi-Fi or with a USB cable.
Program collection
Start with the Board Designer, a visual canvas for your ideas.

Create and display your pixel art
Explore every GlowGrid program and choose your next hardware experience.
Made for curious builders
Helping learners, educators, and makers turn ideas into real hardware experiences through premade visual programs and seamless browser-based deployment.
Start with a ready-made project, change it, and learn by seeing the results.
Introduce coding through something students can see, touch, change, and run for themselves.
Contribute your own ideas. Get in touch so we can evolve the ecosystem.
From setup to new ideas
Prepare your GlowGrid once, then explore and deploy programs as often as you like.
Install the matching MicroPython firmware on your board. Then install GlowGrid OS and connect the board to your local Wi-Fi network. Once the board is connected to your network, it can be reached using its IP address.
Open an app from the Program Collection or pick a challenge. Build at your own pace and bring your ideas to life on real hardware.
Prepare Board button lets you upload your program wirelessly or using a direct USB connection.
Tutorials
Follow practical, guided lessons that explain programming ideas one step at a time.
Learn by making something real.
Browse challengesQuick answers
GlowGrid is a tiny, colorful window into your digital world. Built with a Raspberry Pi Pico 2 W and Pimoroni Pico Unicorn Pack, it runs interchangeable apps with convenient Wi-Fi deployments, encouraging creativity and experimentation through a growing collection of fun and useful programs.
Kind of… GlowGrid is free to use. You can always support the development of new programs and features with a donation or a pull request.
MicroPython runs your board. Each program controls what it does. You can send programs from your browser over USB, or install GlowGrid OS on a Pico W or Pico 2 W for Wi-Fi uploads.
Compatible browsers: Wi-Fi uploads work in modern desktop and mobile browsers. USB needs Web Serial support. See the Guide for browser setup.
GlowGrid runs on a Raspberry Pi Pico, Pico W, Pico 2, or Pico 2 W, paired with a Pimoroni Pico Unicorn Pack or Pico Display Pack 2.0. It also supports the Waveshare RP2040-Matrix with its built-in LED display.